
In this article, we're going to learn how to draw an angelfish and tropical fish. if you are looking to draw a fish this beginners friendly guide is for you.
let's dive in...

How to draw Easy tropical and angelfish fish
How to draw tropical fish and angel fish. In this tutorial, we will make an Angelfish fish drawing- a small freshwater fish with a round body and elongated fins that are intricately shaped. This contrasting feature makes Angelfish drawing as made a creative discovery for the artist.
their beautiful striped colors are very noticeable, then we will also practice creating a pattern on a 3D object
For this drawing, we just need to use some graphite pencils. From a painting standpoint, a fish is a good object to paint, a relatively easy but engaging description.
You may also be interested in the following articles: the easiest way to sketch a realistic human skull
Tools and materials
To complete this assignment, you will need the following equipment:
- A well sharpen HB graphite pencil
- A 3B graphite pencil
- a ruler
- a drawing paper

How To Draw An Angel Fish
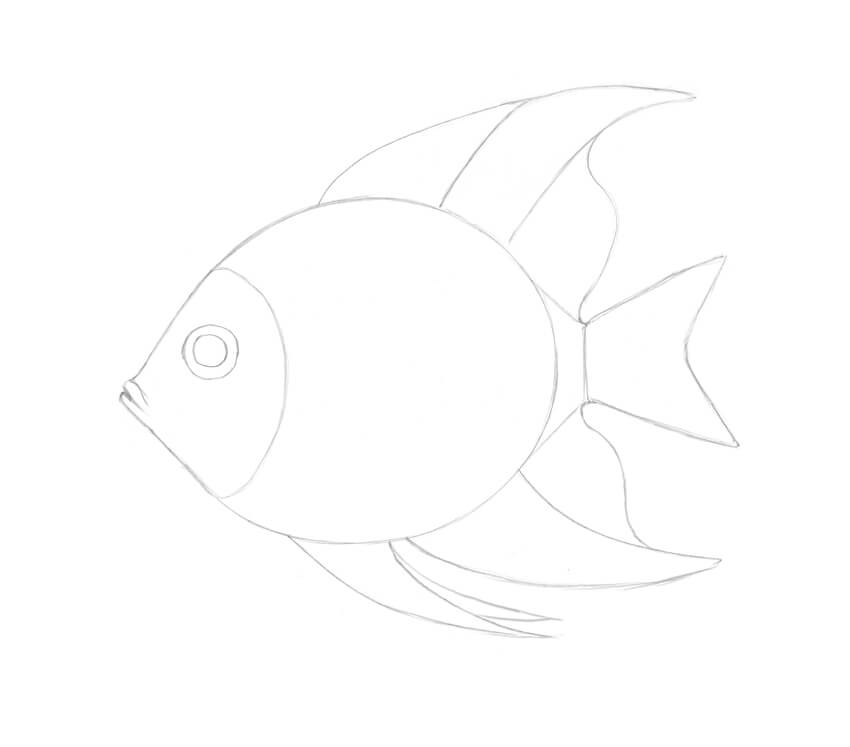
step 1 Sketch the rounded body
In this angelfish fish drawing tutorial, we are going to use an HB pencil to outline lightly the rounded body shape of the tropical fish.
The flat rounded body shape would allow you to correctly add other details to it without potential errors. knowing this feature will help you create a realistic painting, so some practice is required before starting.

Step 2. Sketch the head
Adding the head shape is super simple, it should intersect the body's shape, leaving a narrow area on the left side. This area would then be used for other details.

3. Add the eyes
To add the eyes, determine the placement at the upper side of the head. Note, that the fish's eye should not be placed at the center but the top of the head.

Step 3. Draw the fish's tail
Draw the tail fin shape; having the two tips meeting each other, then join the body and tail fin together. You can first outline before putting your pencil into your main work.

Step 4. Sketch the wings
The front part of the angelfish dorsal fin is not a simple shape, so we would divide it into several steps, to make things easier.
firstly, we drew the first part of the wing; which is a triangular shape with a curved line.

Add the second part; longer than the previous one, curved towards the tail.
Related post: How to outline a cute mushroom
How to draw fish wings easily
Fish wings drawing are a common feature found on fish art. They help the fish swim faster and lift its body out of the water. Fish wings can be simple or complex, depending on the fish.
To draw fish wings, start by drawing a basic oval shape for the fish's body. Next, draw the fish's wings using a series of curved lines. Make sure to draw the wings smoothly and evenly. Finally, add details to the wings, such as feathers or scales. See as we illustrate in the following images.

We Used an S-shaped with twisted lines to draw the last part of the tail

Step 5: draw the longer fin
Draw long pointed fins on the other side of the fish.

Step 6. Draw the anal fin
I draw the anal fin and place it under the body.
This process is a bit like designing the dorsal fin, but in this case, there are no small segments.

Step 7: Add the fish mouth
Now, we optimized the fish's mouth and drew characteristic "lips".
Latest post: realistic television step by step guide
Draw the gills with some curved tissue lines on them.

Step 8: draw the pectoral fin
Add small pectoral fins to the side of the fish.
Then, optimize the body curve of the fish to make it smoother and more linear as in the picture below.

Step 9: add details to your fish
It's time to add more details to the fins, we'll begin with the dorsal fin and fill in the shape with two lines representing the fish's bones.
Don't forget to create a jagged connecting line at the top. Connect the fish bones with curved lines.

Step 10: add realistic details to the fin tail fin
Add details to the tail fin, the same way as before. The easiest way to do this is to start at the edges and work your way towards the center of the fin shape or you can simply shade it smoothly.

Use the same method as we discussed above for the pectoral fins.
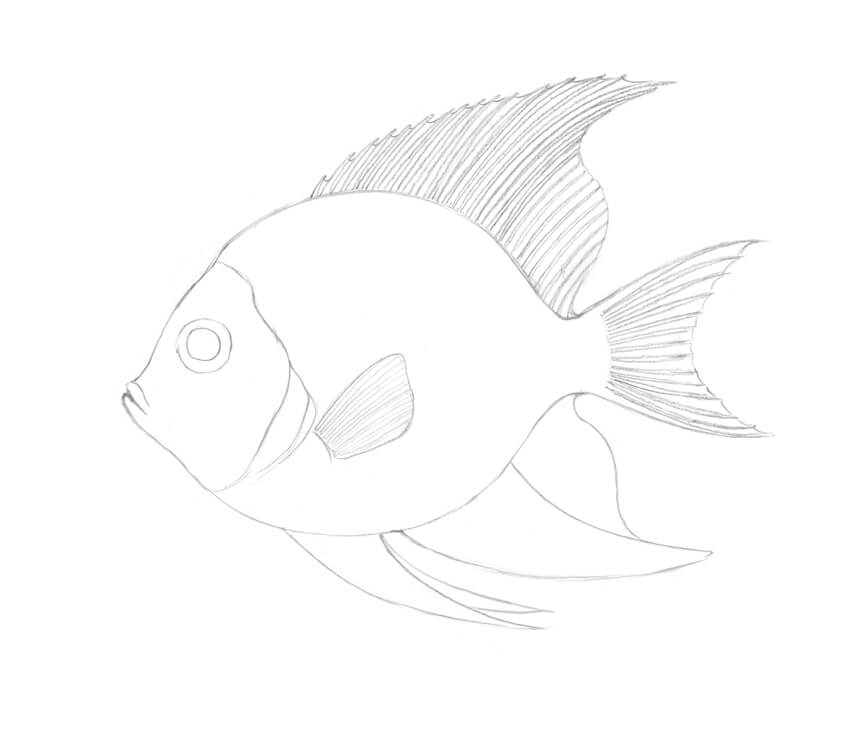
Step 11: Add lines texture to the Pelvic acancaudal fins.

Step 12: draw the first striped pattern
Angelfish have a cute striped pattern; now it's time to draw it.
On the head and body of the fish, we added long and short stripes. the stripes can vary in length and width, so organize the lines right.
Remember that fish are 3D objects! Your shape only emphasizes the outline; don't just draw some vertical lines around it.

Step 13: add the stripes
Use the 3B graphite pencil to deepen the stripes and the sides of the fish to enhance the contrast of the picture and give a more three-dimensional effect. Note that the stripes are on the body and also on the fins.
The upper and middle stripes are slightly lighter; this grayscale is there to add volume to the painting.
I also added strokes to the eyes and highlights.

Step 14: paint your fish to stand out.
Use a pencil and I applied a layer of the reticle, the whole drawing is more harmonious. It is necessary to find balance in contrast and overall harmony.
The brightest areas are the center of the body, the eyes around the pupil, highlights, and the pectoral fins.
your painting is done
congratulations! You have completed a beautiful painting; hope you enjoyed this tutorial and the final result.
Hope you guys are having success with graphite pencils. Capture the unique charm in the wonderful world of animals and nature!
| fish drawing is super simple if you follow this step by step instructions given on this blog. Even kids or nonartists can come up with a cute fish drawing based on this blog tutorial. Image credit to reference website This post was written by one of our artists, |